The Win+X menu entries actually are all shortcut files (.LNK) but customizing the Win+X menu is not an easy task because Microsoft intentionally made it harder to customize it to prevent third party apps from abusing it and putting their own shortcuts there. The shortcuts are all special - they are passed though a Windows API hashing function and the hash is then stored inside those shortcuts. Its presence tells the Win+X menu that the shortcut is special and only then it will show up in the menu, otherwise it will be ignored.
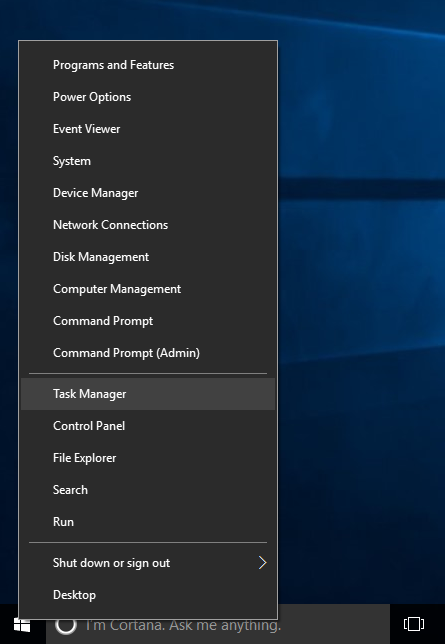
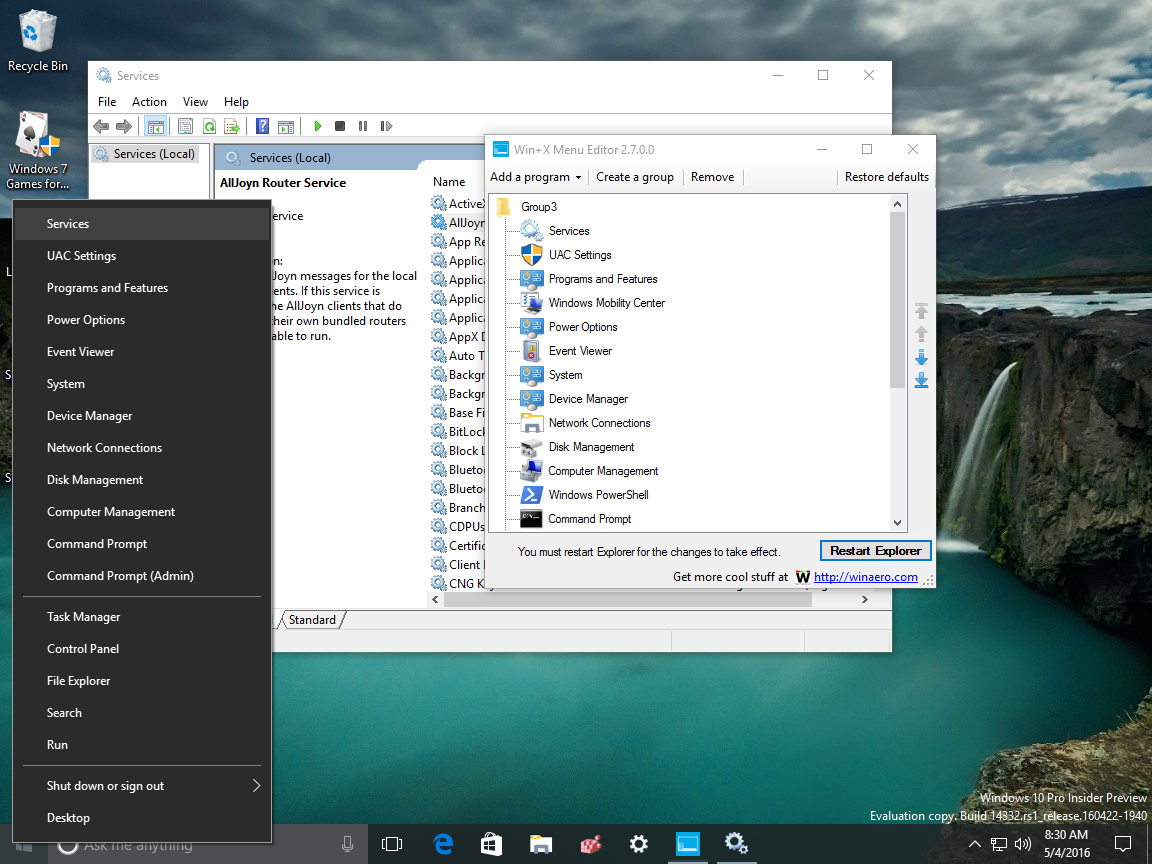
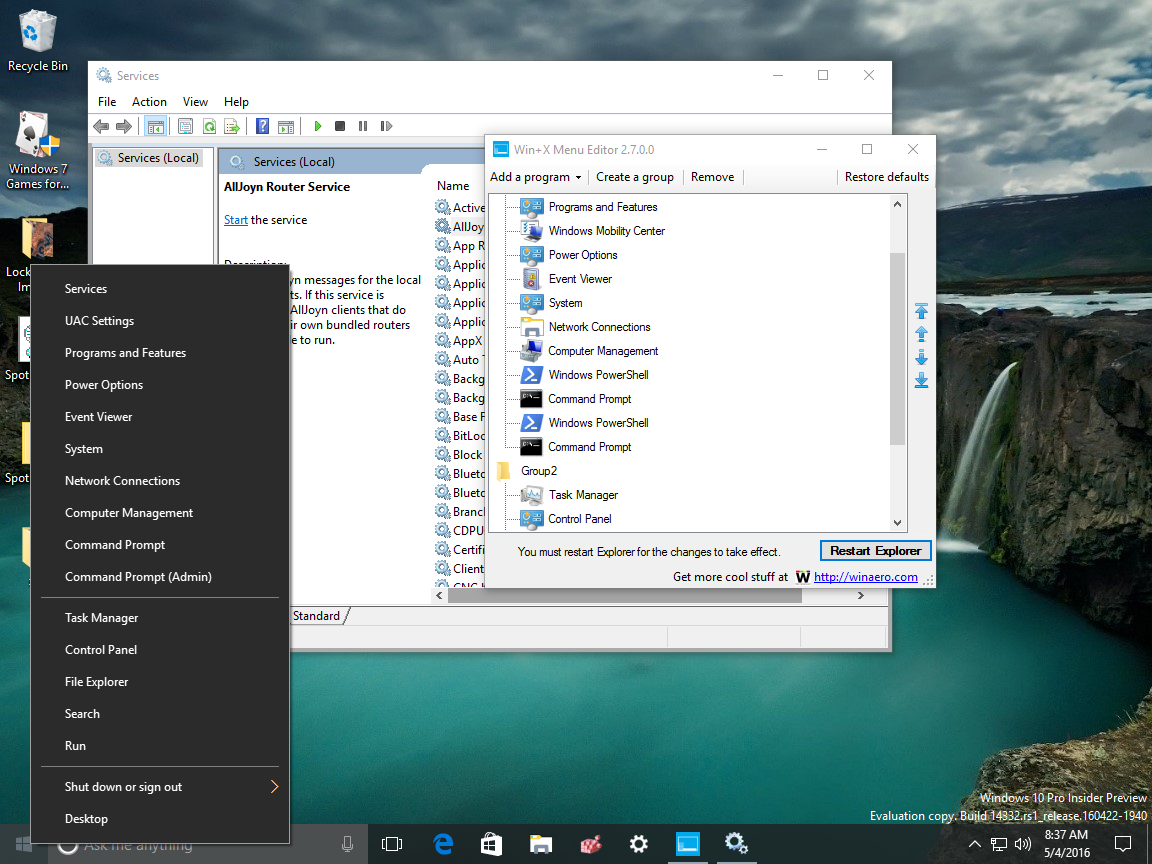
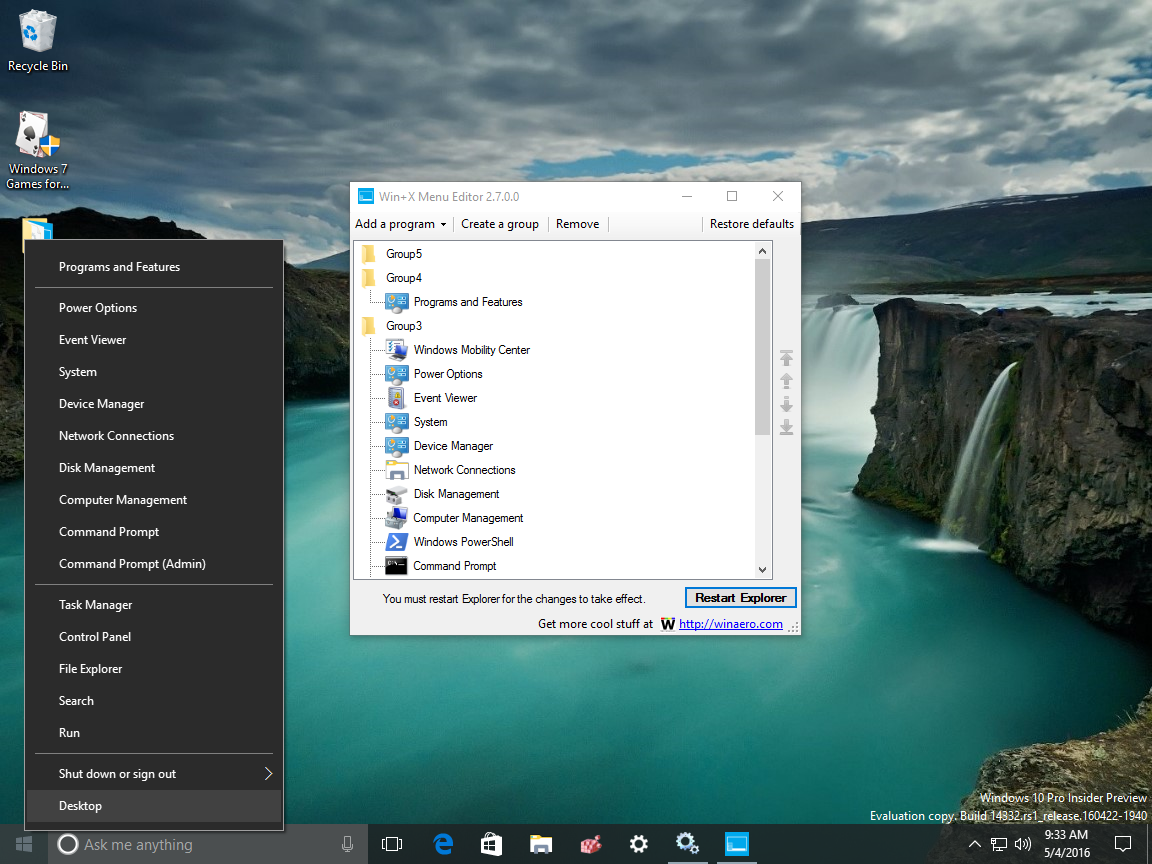
To customize the Power user menu, you can use my Win + X Menu Editor app. Win+X Menu Editor is a free tool with an easy-to-use GUI that does not patch any system files to disable the hash check. Using it, you can add or remove shortcuts to the Win+X menu, change their names and order.

Here is what you have to do.
- Download Win+X Menu Editor from here.
- In the archive, you will find two folders - x64 and x86. For 64-bit Windows, enter the x64 folder, for 32-bit, extract and use the files from x86 folder. Then run WinXEditor.exe to open the app.
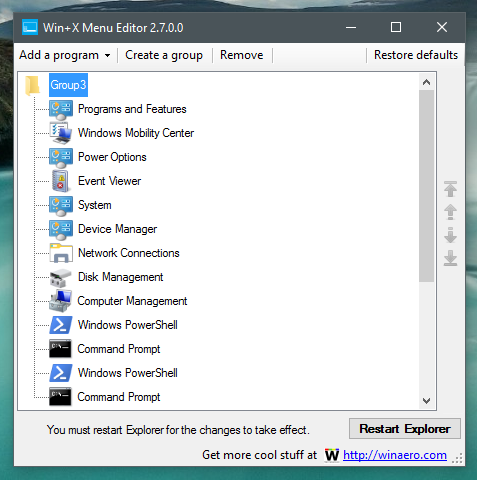
- The UI is pretty self-explanatory and shows all items which already exist in the Win+X menu. You can add any program or use presets for common system tools. You can organize shortcuts into groups and reorder them. You can also use the buttons on the right to move commands Up or Down.
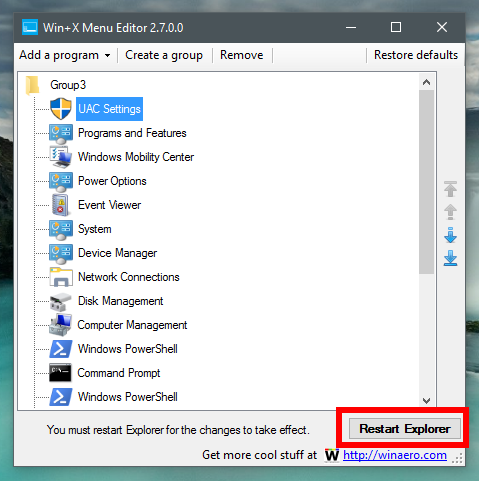
- When you are done editing the menu, click the Restart Explorer button to save changes and restart Explorer.exe.
Add a new item to Win+X menu in Windows 10
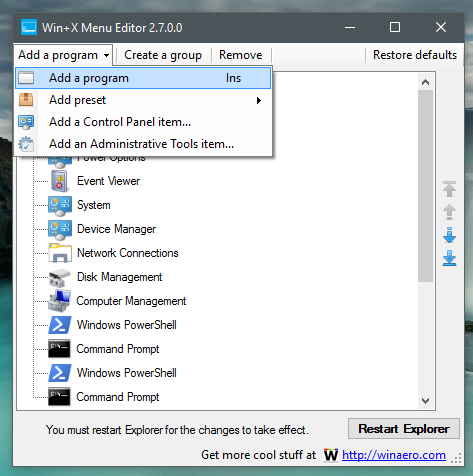
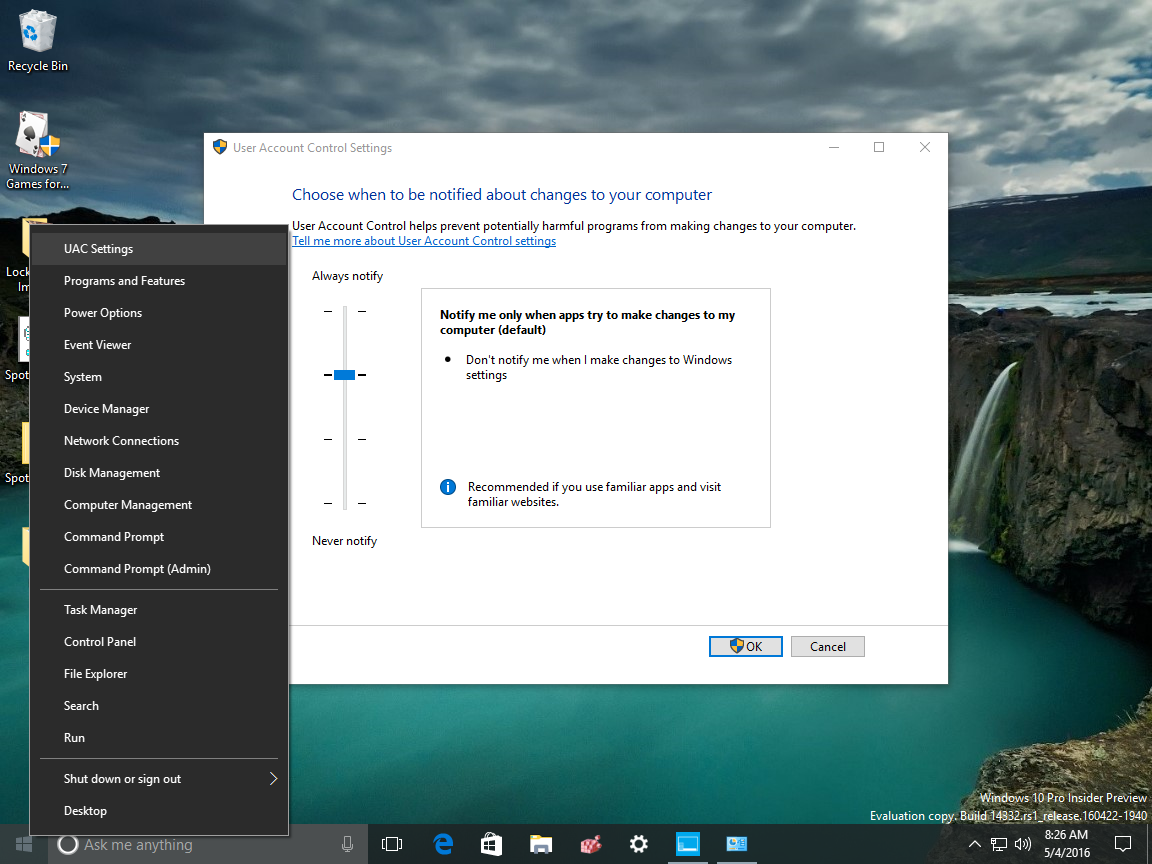
Using Win+X Menu Editor, it is possible to add any application to the Win+X menu of Windows 10. For example, let's add "UAC Settings" options to the menu. Here is how.
Click on the "Add a program" dropdown button. In the submenu which will appear, select "Add a
program".
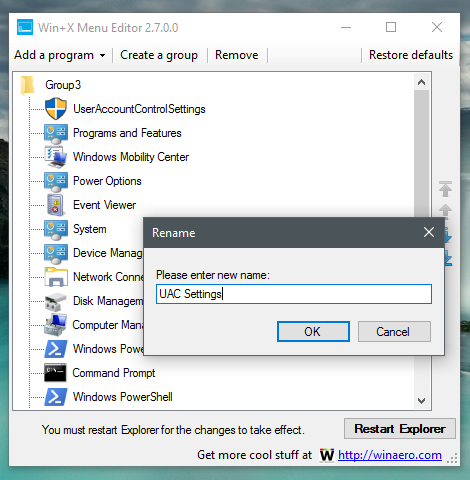
C:\Windows\System32\UserAccountControlSettings.exeThe application will request you to name the item you are going to add. Enter the desired name, for example, "UAC Settings":


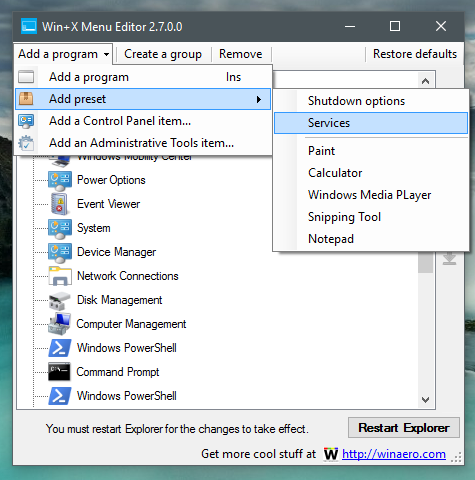
Use presets
You can use some presets available in the app. Under "Add a program"->"Add presets" you can add Services, Paint, Windows Media Player and some other built-in tools:


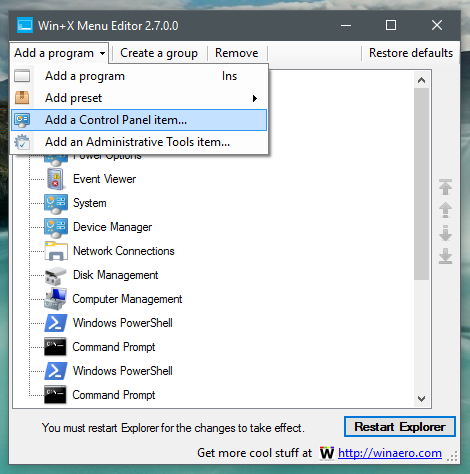
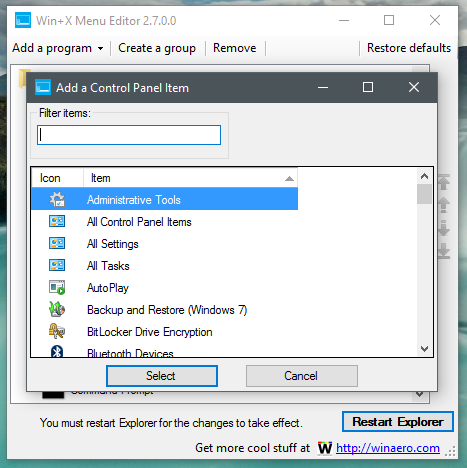
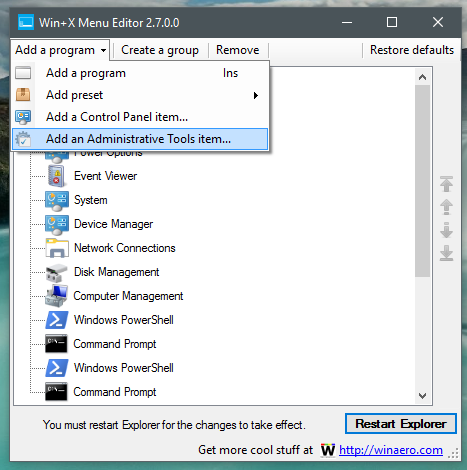
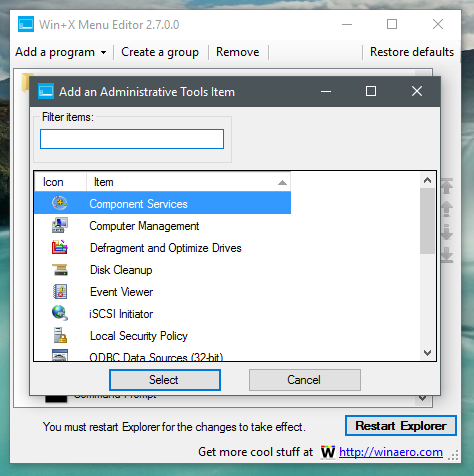
Besides custom apps and presets, it is possible to add Control Panel items and Administrative Tools to this menu. Use the appropriate commands "Add a program"->"Add a Control Panel item" and "Add a program"->"Add an Administrative tools item" to do so. See these screenshots:


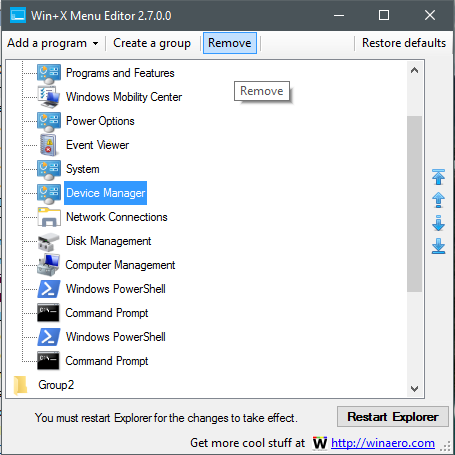
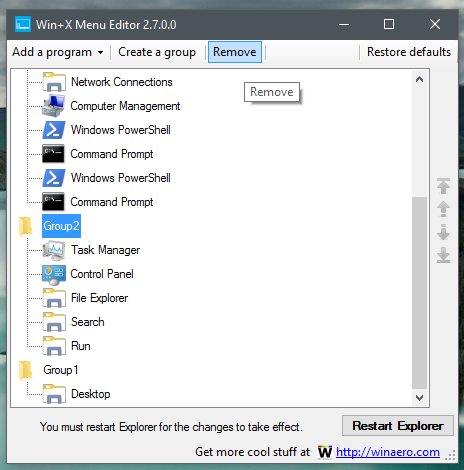
Remove Win+X items in Windows 10
To remove the item from Win+X menu, you only need to select it in the items list and click "Remove" on the toolbar:


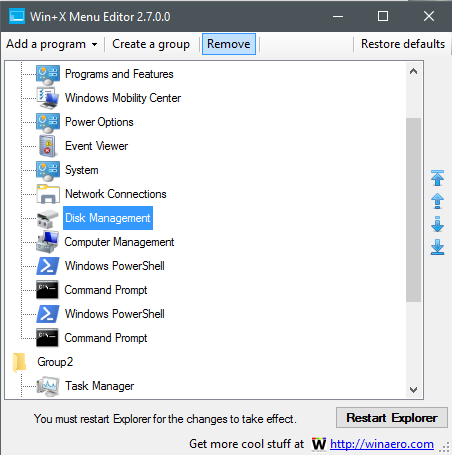
Click Restart Explorer and the removed items will disappear:

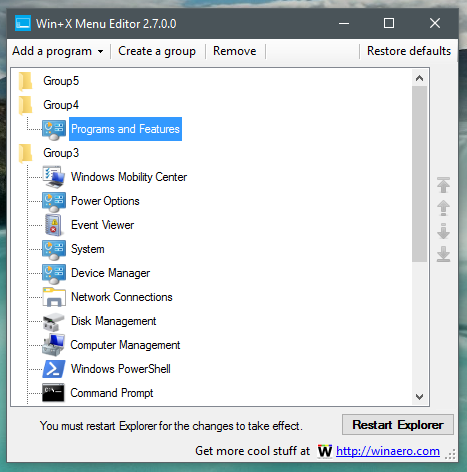
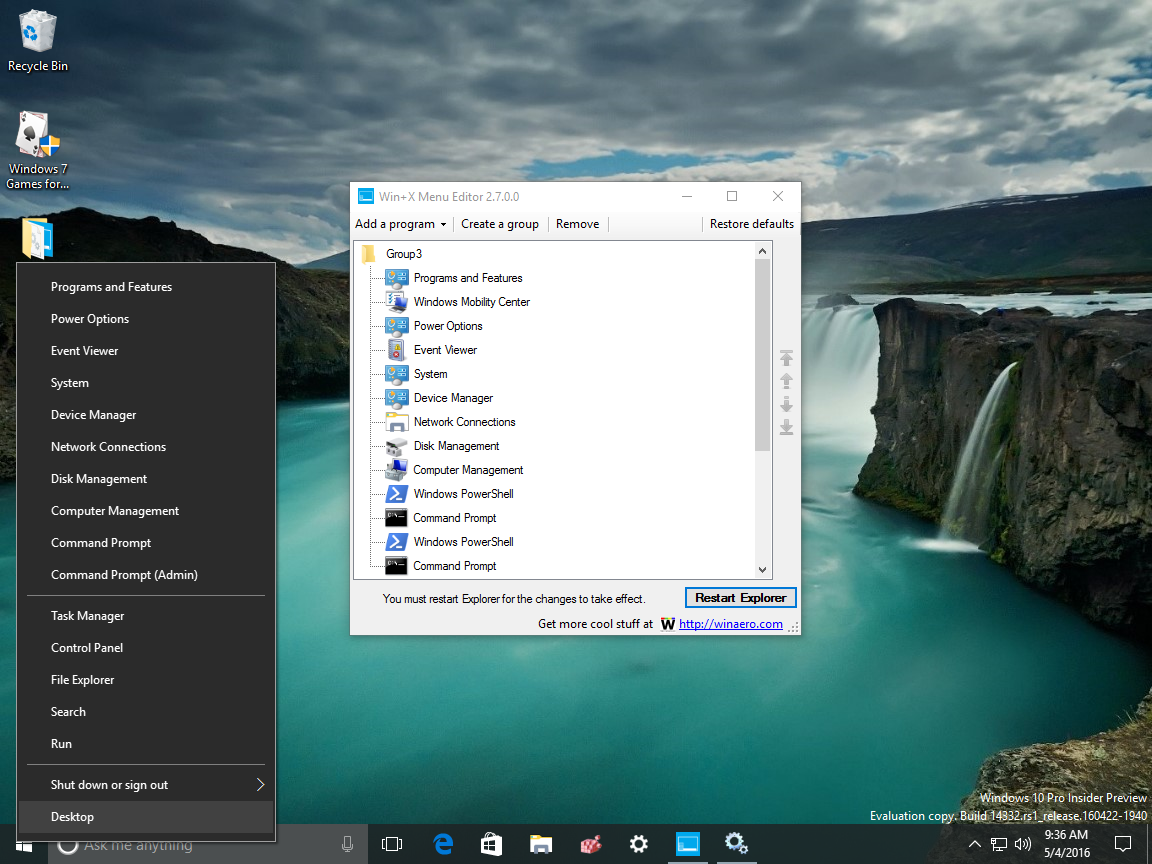
Managing shortcut groups
To remove the whole group, select it in the app and click "Remove" on the toolbar:

All its shortcuts will be deleted, and the group folder will be deleted too. After you restart Explorer, the group will disappear from the menu.

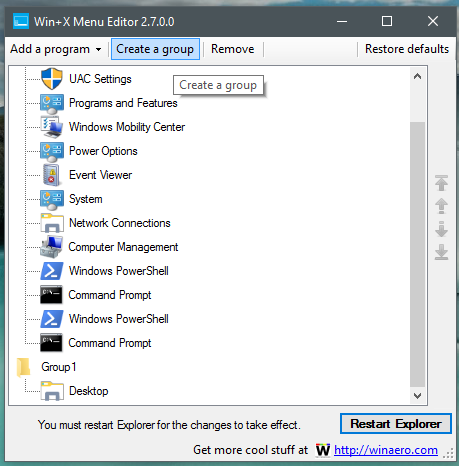
You can create more groups by clicking "Create a group" on the toolbar:

After that, you can put apps and commands in new groups as described above, or you can move existing items between groups.
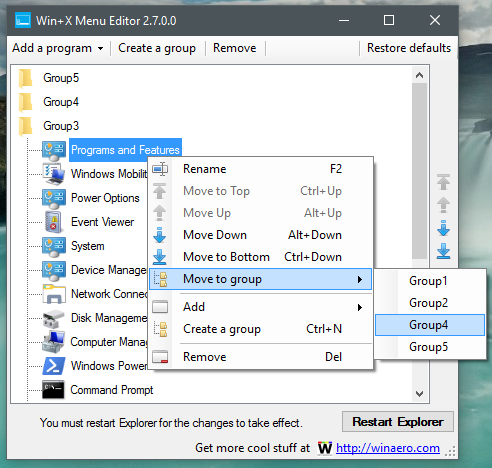
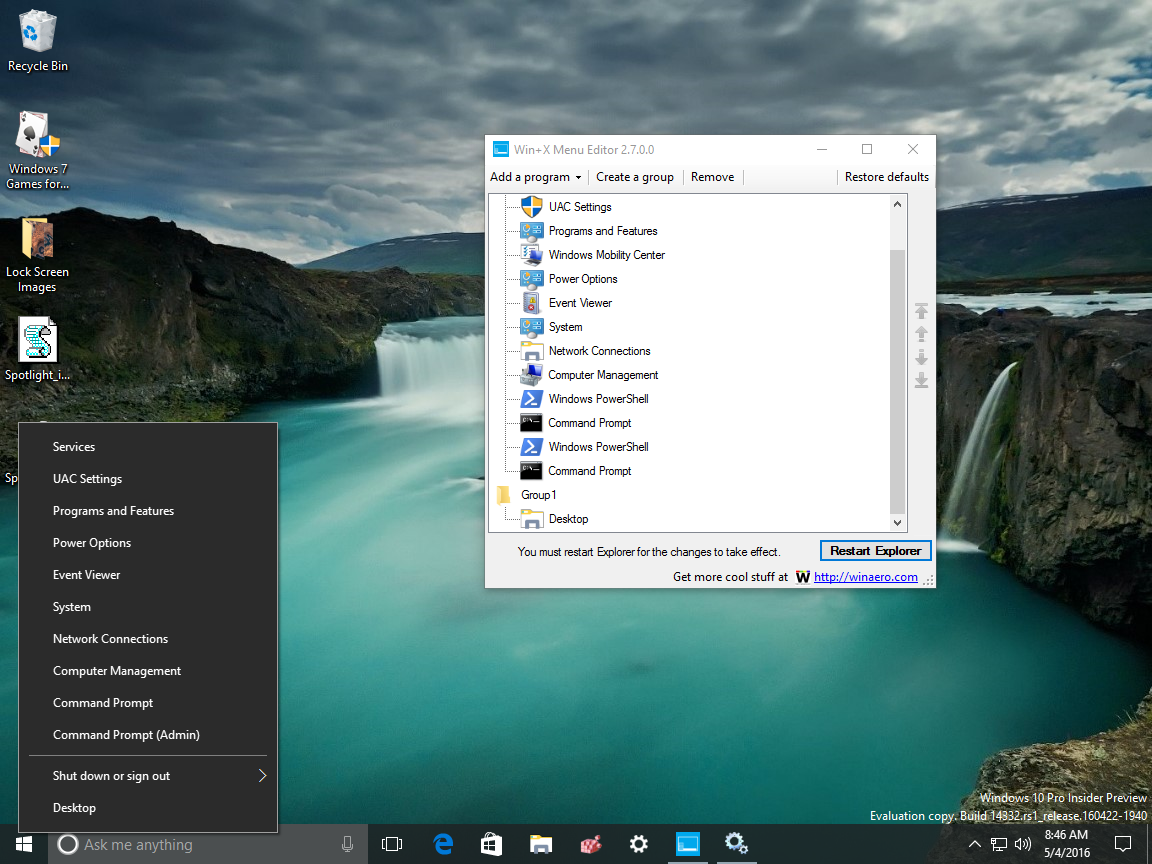
Move items between groups
By right clicking the items, you can perform most operations the application supports for the Win+X menu. To move the item to another group, right click it and select "Move to group":
Click Restart Explorer and you are done.


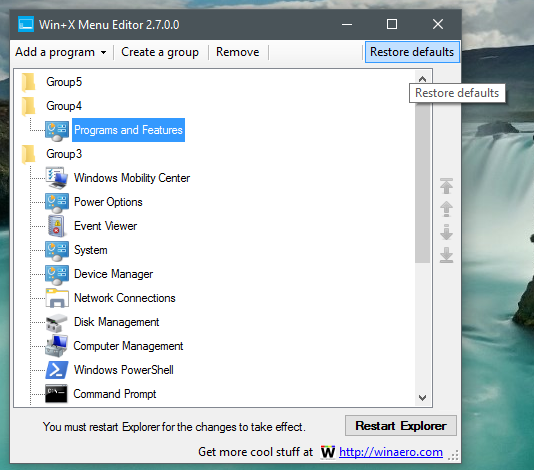
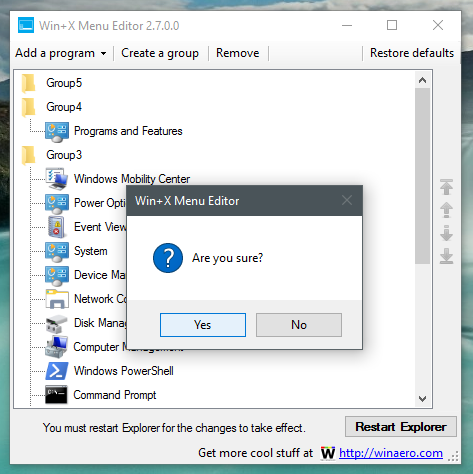
Restore the default Win+X menu


Click Restart Explorer. The menu will be restored:

That's it. Using Win+X Menu Editor, you can tweak the Win+X menu in Windows 10 as you want. Version 2.7 comes with full Windows 10 support and is tested under the latest Insider Preview, which as of this writing, is build 14332. You can download it here:
Link original: http://winaero.com/blog/customize-winx-menu-in-windows-10/
Customize ainda mais a Opção Símbolo do Windows + X, do seu Windows 10. \O/
Nenhum comentário:
Postar um comentário